
Welcome back everyone to my posts on painting miniatures from Games Workshop's LOTR line.
This tutorial will specifically focus on painting a nice and clean Warrior of Minas Tirith for use in your strategy battle games.
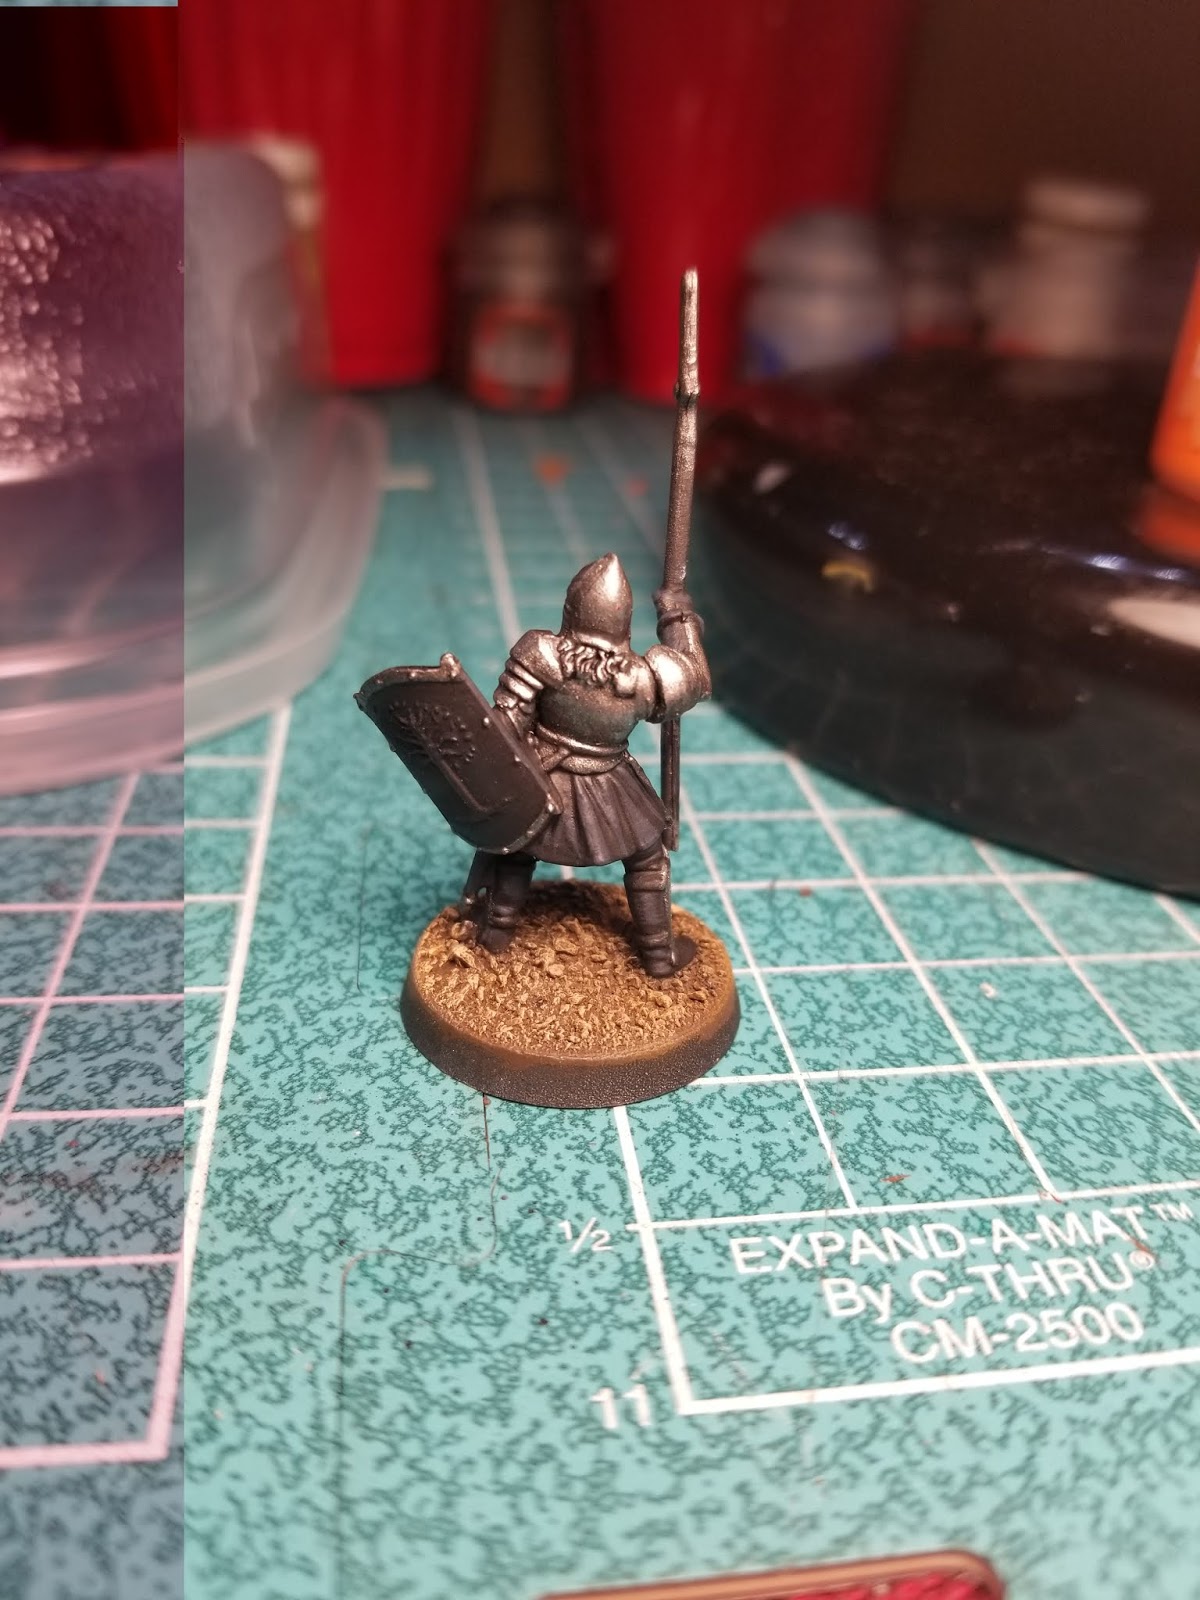
I started by base coating the model black. For this particular model, I based it using a combination of PVA glue and play sand. I prefer the texture of play sand as it gives you a nice base to work with, with multiple different shapes and sizes of sand grains. The base was painted using Rhinox Hide.


From here I dry-brushed the base using the technical paint, Ryza Rust.


Once this had time to dry I moved onto dry-brushing the base, this time more sparingly, with the dry paint, Eldar Flesh. I feel that these colors give you a realistic sandy-dirt base, which works well with LOTR figures.


Now that the base is painted, we can move onto the largest part of the model, the armor! I started by base coating the armor plates and spear head with Leadbelcher.


From here, I washed the plates with a black wash. I specifically used Armor Wash from P3, but Nuln Oil or a self-made wash of diluted black paint can work just fine too.


After the wash, I went ahead with some thinned black paint and painted the crevasses of the armor plates, in order to define them a little better. I did this a couple of times throughout painting the model, as you will see on the helmet and shoulder pads.


After defining the plates with shadows, I highlighted them with Ironbreaker from the Citadel line. I focused on the tips of the metal plates that would catch the light. Here are some pictures to help show what I focused on.


Once the metal bits were defined, I moved onto the face of the figure. This started with a base coat of Bugman's Flesh.

Because this model has nicely defined eyes, I decided to move onto painting those. I prefer to paint the eyes before highlighting the flesh, as it is easy to make small mistakes when painting such a small area. To being, I thinned down some Brown Liner from Reaper Master Series. You can use a mixture of any dark brown and black, however. The key here is to keep the paint at a nice milky thin consistency. You want to define the areas around the eye, like so.

Once you've completed this step, its time to paint the whites of the eyes. I used Linen White from the Reaper line here. Any bright off-white will work here, however. I would refrain from using a pure white, as it will not look realistic. Be sure to keep an outline of the dark brown we used before, to help define the shapes of the eyes. I find that it helps to be able to turn the model in many different angles to paint the eyes easier.

Now we can paint the pupils using a small point of Pure Black. Take your time with this step, and be sure to hold the model at the angle you want them looking, so as to not get a "bug-eyed" effect.

From here we can begin to highlight the flesh and define the mouth. I highlighted the face with Cadian Fleshtone, focusing on the checkbones, chin, as well as the upper and lower lips of the model. I painted the inside of the mouth with thinned Rhinox Hide.

I then did a final highlight of flesh with Kislev Flesh, hitting the same spots while being careful to leave the mid-tone behind. Additionally, I painted the tongue with thinned Khorne Red, and the teeth with Pure White.

We can move onto the black cloth and leather bits. I began by cleaning up all the cloth skirt and leather gloves/boots, as well as the shield and sword sheath with another base-coat of Pure Black. I'm saving the belts for later to paint them brown, in order to have some more color going on with the figure.


The first highlight for the black bits is going to be Dark Reaper. I focused on the folds of the cloth, as well as the fingers and apparent high spots on the gloves and boots.

From here we can do our final highlight of Fenrisian Blue. This is used very sparingly, as you don't want the black parts to start looking gray or blue. You really want this to mimic reflective spots you might see in the real world. We focus specifically on the very-very edge of the cloth bits on the skirts. Additionally, you will only paint the gloves and boots sparingly. Focusing on knuckles and tips of fingers.


You can see on the back of the boots, along the models "calves" I created a reflective line of Dark Reaper and Fenrisian Grey. This is to help define the area and simulate what I would imagine light would look like reflecting off the leather boot.
I then moved onto painting the brown parts of the model. This included the belts, as well as the spear shaft. I began by base coating the areas with Rhinox Hide.


I then highlighted all the brown leather belts with Gun Corps Brown, from the P3 line. This is applied over the majority of the belts, but be sure to leave the darker brown color visible along the outside edges, to create depth.


From here, I did a final leather highlight using Bright Skin Highlight from Reaper. I used this color lightly, and focused on creating spots where light would reflect off the leather. Specifically, along the top edges, as well as the "crests" of the round spots where a sun spot might show.


I then moved onto painting the hair and gold bits of the figure. For the gold I used Balthasar Gold, which I painted on to the small handle on the inside of the shield, as well as the Tree of Gondor symbol on the front of the shield. Additionally, I used gold on the hilt and pommel of the sword. For the hair I utilized Palomino Gold from Reaper. Be sure to take your time with blonde hair, as the base coat will most likely need 2 coats for coverage.


After base coating all the areas, I washed the gold bits and hair with Seraphim Sepia from Citadel.

While waiting for the wash to dry, I wanted to add some more contrast to the spear shaft. I painted a highlight of Chestnut Brown from the Reaper line on the spear, being sure to leave the Rhinox hide towards the figures hand, as well as the spear point.


Once the wash was dry on the hair, I painted the strands with Bright Skin Highlight.

After painting the edge of the base with Dark Flesh from the Reaper line, we've got a nice and clean Warrior of Minas Tirith to use on the table top!


You can, of course, experiment with other colors to use for the figures livery. I've done purple and blue in the past. This can help break the up monotony of so much black and silver!


Thanks for reading through my tutorial. I hope it helped you understand which colors and techniques to use while getting your new LOTR army ready for the table top! Be sure to check back for more of my tutorials, as well as showcases of some figures I've painted! Thanks again.
Thanks for this, I've been following it to paint my first warband for my Minas Tirith army. Particularly like the blue livery suggestion as well, you're right it looks great and compliments the silver really well.
ReplyDelete