
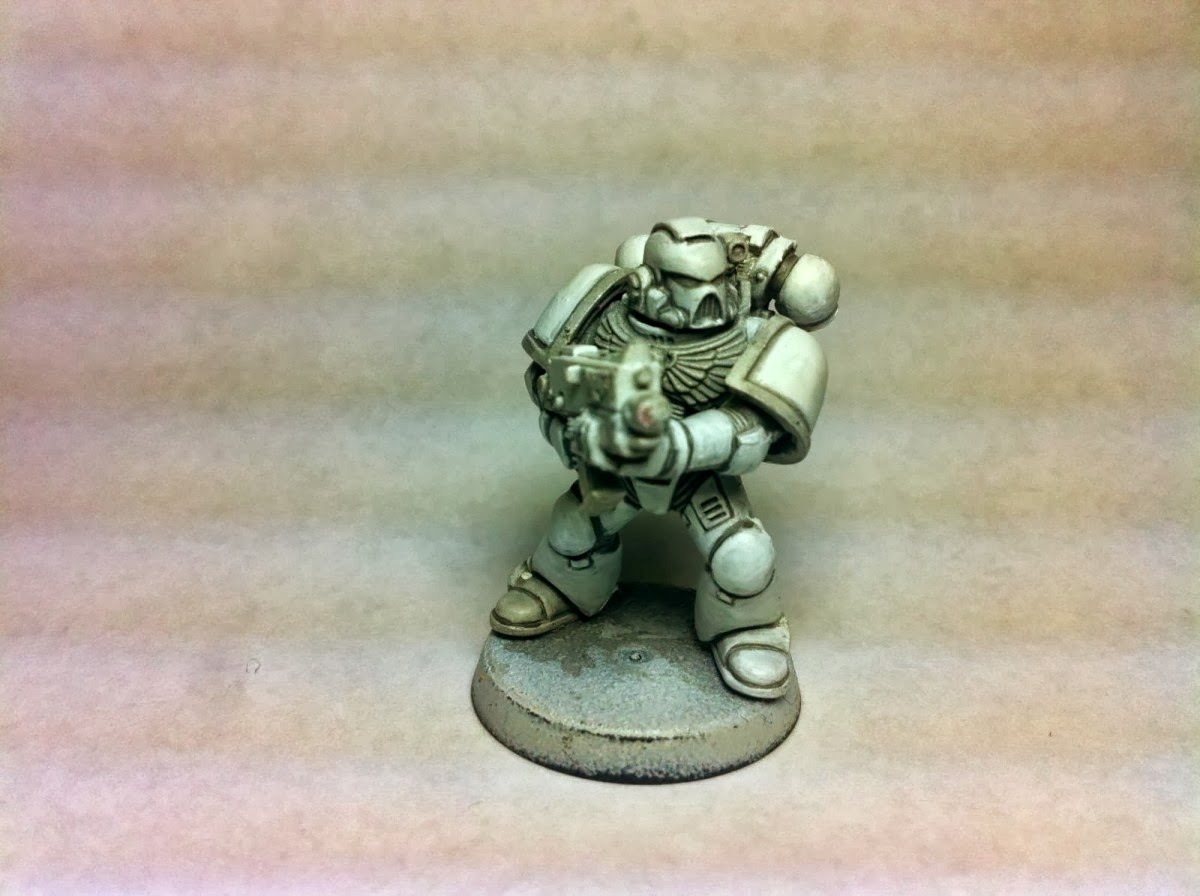
Step 1: After thoroughly cleaning and de-flashing your model, begin by getting a nice - smooth coat of white primer. Be sure to keep the primer can around 7-8 inches away from the model and move across it in light sweeping motions. Avoid stopping your "spray" on the model itself to avoid a "puddling" effect on the models surface. Getting your base coat right is very crucial - especially on a white or light colored model - and I don't think you can get much brighter than White Scars!


Step 3: After the wash has completely dried, and I mean completely! Begin looking over where the wash may have settled into some deeper recesses, or areas that need to be "darker" such as around the boots, underneath and around the knee pads, the raised area of the helmet, etc. You will now carefully line paint all those areas using thinned Dawnstone. Do not make this a wash, I just recommend thinning the paint in order to make it flow better - allowing you to get smoother, straighter lines.

Step 5: Once you have completed layering on that nice pearly white armor, we must begin "blacking" out the areas that will not be white in the end. This is to make it easier to layer on the colors that may look better over a black base coat such as silver metallic. Paint Abaddon Black into the joints at the elbows and knees, as well as on the eyes, bolter, backpack, details on the helmet, and if you choose to - you can now work on the tactical squad "arrow" on the right shoulder. Be sure to again keep the paint thinned, and don't worry if you need 2 or 3 coats - in the end this will result in a much smoother, quality paint finish.


Step 6: Now that you have the metallic areas blacked out - you can begin on the red accents. Start by thinning down some Mephiston Red. This will be painted along the raised lip of the shoulder pads, as well as on the inside of the eyes (be sure to leave some black around the red in the eye). For those of you who are adventurous - you can also use this color to begin on the White Scars chapter symbol on the left shoulder. Be sure to keep the paint nice and thing to allow for optimal smooth flow.


Step 7: Now that you have your red base coat down, its time to start highlighting! Begin by thinning down some Evil Sunz Scarlet, and then apply it to the raised areas of the shoulder pad ridge, as well as the "back" corner of the eye. Be sure to leave the Mephiston red in the recesses of the shoulder, and on the "front" of the eye. If you chose to freehand the chapter symbol, you can also now highlight the inside of the lightning bolt, leaving a line of Mephiston Red around the edge.


Step 8: We'll now begin on all the metallic bits of the model. Begin painting the silver parts in Boltgun Metal, and the gold parts with a mixture of Auric Armor Gold / Rhinox Hide in a 75/25 combination.

Step 9: Once you have all the metals base coated and they have had time to dry. We can now begin shading, wash the silver parts in Nuln Oil, and the gold parts in Agrax Earthshade. I also edged the red parts of the shoulder pads with Wild Rider Red, as well as the back on the eyes leaving some Evil Sunz Scarlet showing.
Step 10 / Finishing Steps: We're almost done! To finish off the model I began by highlighting the gold parts with Auric Armor Gold. I also lined the silver parts with Mithril Silver. You can finish off the eyes by painting a very small white dot in the back corner to create a "jewel" effect. The White Scars chapter symbol can be finished off by painting Yriel Yellow into the white space we left inside the red outline. Once the Yriel Yellow has dried you can highlight with Flash Gitz Yellow. The Boltgun was outlined in Dawnstone as well as the tactical arrow. I finished the model off by painting an easy "jewel" effect on the optic on the side of the head.


Thanks for taking the time to put these together! I just found them and will try this technique on my Sisters of Battle army :)
ReplyDeleteIts a nice simple approach that looks great!
This comment has been removed by the author.
ReplyDeleteWhat an amazing and detailed tutorial on painting White Scars! For those looking to refine their craft, attention to detail is key—just like with skincare. If you're dealing with acne scars, the best acne scar treatment involves professional care. The Acne Scar Center offers advanced, customized solutions to restore smooth, even skin, much like perfecting the fine details on your models. A healthy canvas makes all the difference in both painting and self-confidence.
ReplyDelete